Tile Laying Tips are something that most people are seeking if not everyone. So we have carefully crafted the below content as per your wish.
When it comes to installing or laying tiles, many of us are unaware of its easy ways and process. Laying tiles in any area has its different methods and tools and also depending on the tile patterns and shape.
The method and tricks also differ from the areas on which it has to be laid. One can easily choose to lay tiles with easy laying tricks and ideas, which can also save a lot of money.
Table of Contents
Below are the simple yet best Tile Laying Tips which will help you a lot
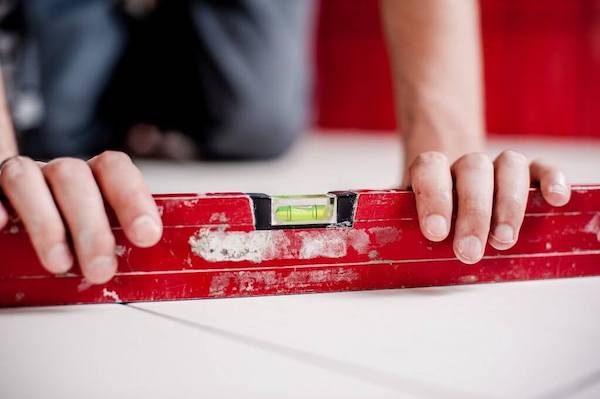
1. Leveling It Up
Number 1 tile laying tips is, when laying tiles it is necessary to see the area and the level on which the tile has to be laid. The deep pocks or bellies on the floor will make the job different while installing tiles, so fist to make the floor flatten we use the floor leveler.
If the floor has deep pocks or bellies say around ¼ – inch, mix up some floor leveler and pour it on. The key is to get the right thickness. It needs to be fluid enough to flow so gravity can draw it into a low spot. Strike off edges with a flat trowel.
2. Right Tools
The basic tools to make the job easier are: kneepads, drills, trowels, saw. In the beginning, you might find uncomfortable with it but it is 100 times better than having without each one of them. So selecting is right tool is very critical and that is the reason, selecting the right tool is important and is the most important tile laying tips you can get.
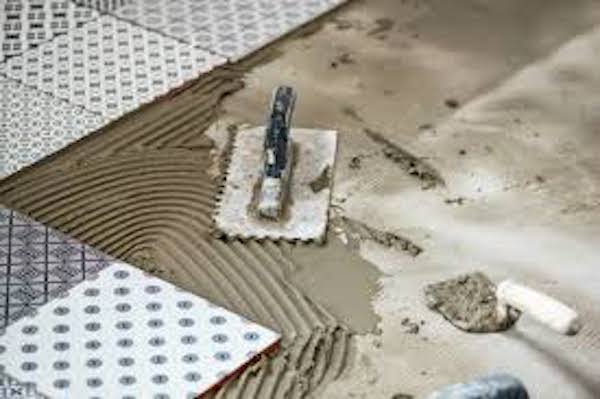
You can use Hyde Tool’s margin trowel which is useful for mixing small batches of materials, scooping it from the bucket, and for spreading it around on the floor. Also, use a 3/8 x 3/8-inch notched trowel.
Large-format tiles like a large format trowel.Use a flat-edged trowel to screed a layer over the floor before combing it out. For plank tiles, comb the thinnest perpendicular to the tile length. Another important is the saw- A high-quality wet cutting tile saw is the only game in town. There’s no such thing as one that doesn’t spray water so set it up inside where it can get wet and you can clean it up without wrecking things.
3. Mix Materials
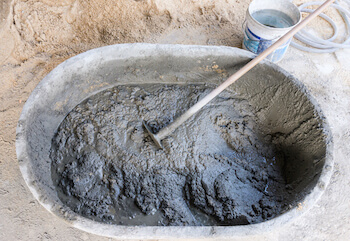
It is important to mix the right kind and amount of materials to avoid cracks. While laying it is also important to keep track on the nearby moving areas such as basement floors, walls, and counters. There is various waterproof crack isolation available in the market.
The best you can use is Red Gard which is like a rosin paper under a wood floor; Red Gard is a ‘bond-break’. If the slab moves the Red Gard flexes under the tile. It’s also waterproof and helps keep moisture and humidity from groundwater in check. It’s ideal for bathroom and wet service renovations too. To apply, simply roll on with a paint roller and let dry.
4. Core Rules
The leveling should be correct, no matter what. For eg: The first row of the tiles should be the same width as the last row – no matter what the area of the room.
The bigger the room, the harder this is. And the more criteria there are, like notches around room features, the more you’ll need to think and plan ahead.
Use a visible laser to cast a line, then measure the rest of the room, make small adjustments, and finally snap the final layout line in chalk.
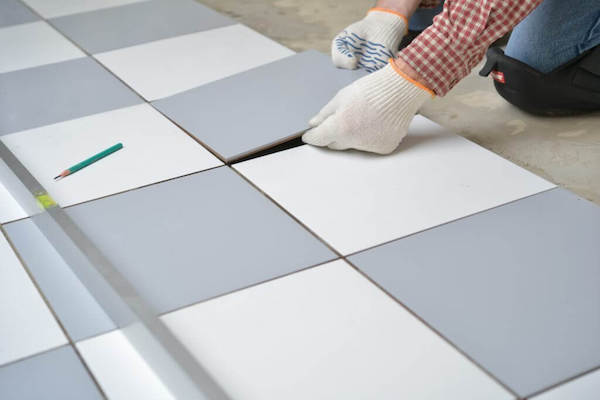
5. Mix it Right
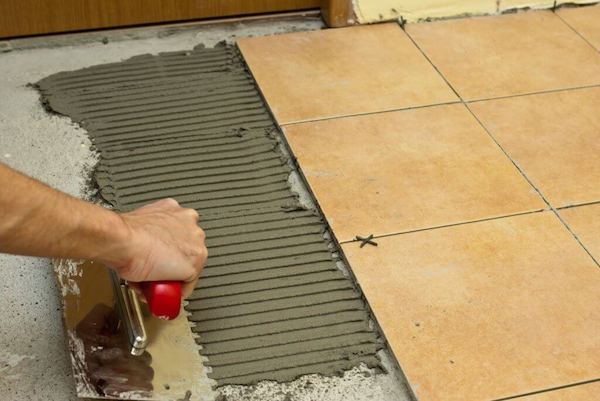
When mixing the materials one thing to keep in mind is the right consistency. It should not be too thick or thin. When you comb it with a notched trowel, it should flow but still stand up.
The reason to test for thickness is that the tile is pressed into the standing seam of the thinnest. As the mud squishes behind the tile, that’s what adheres to the tile to the floor.
Mix it too watery, you risk having to replace a tile in a finished job. Also, a paste-like consistency enables you to “back-butter” a tile.
Back-buttering is adding thinnest to the back of the tile and the floor to make up for a tile that is setting too low compared it its neighbors.
6. Final Touch
A. Easy on the wheel
Build carts and roll supplies whenever possible. They are great for mixing thinnest.
B. Make your Path
To literally keep from tiling yourself into a corner, on one end a carpenter’s cart and on the other a bag of the thinnest. When you run out of the room, simply end the day and walk across the bridge out of the room and finish the final tiles the following day.
C. Grouting is a must
One important key to grout going on well is to change the water often. Clean water cleans grout better. Damp not, soaking clothes work the best.
We hope that our article Tile Laying Tips has helped you in giving you more insight into making your beautiful home. Also, please do let us know what type of other Tile contents you might like to read, our team will definitely work on the same. Your opinion does matter a lot. Thanks for reading.
Must Read:
Tips for Selecting Tiles


That pretty interesting and helpful